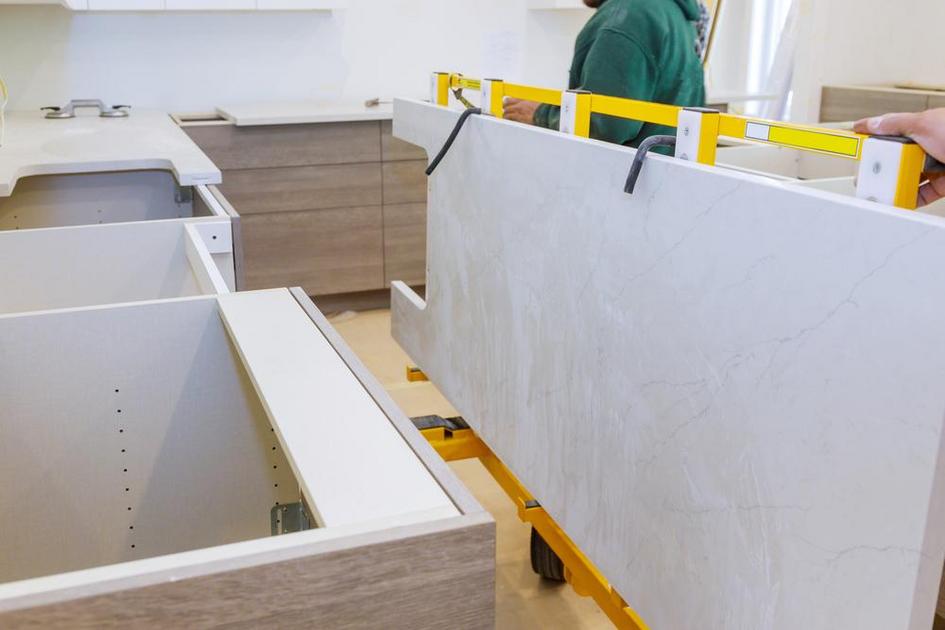
Installing a granite countertop can transform your kitchen or bathroom, adding both value and beauty to your home. In this guide, we will walk you through the essential steps for a successful granite countertop installation, ensuring a flawless result. By following these clear and concise instructions, you’ll achieve a professional finish with ease.
Choosing the Right Granite
When choosing granite for your countertop, focus on quality and aesthetics. Granite varies in texture, color, and durability.
Look for slabs that have uniform color and pattern. Avoid those with large, irregular patches. The beauty of granite lies in its natural variegations, but consistency ensures a cohesive look.
Visit multiple suppliers to compare options. Take samples to see how different granites fit with your kitchen’s color scheme and lighting.
Selecting the Slab:
- Examine the slab under natural light.
- Look for minor fissures or pits.
- Ensure the slab’s size matches your countertop dimensions.
Check for porosity by dripping water on the slab. If water doesn’t get absorbed, it’s a good sign. Porous granite may stain easily. Keep sample tiles and compare them against your kitchen’s layout to visualize the final look.
Preparing Your Space
Preparing your space is vital for a seamless installation process.
Removing the Old Countertop:
- Turn off water, gas, and electricity to avoid accidents.
- Remove the sink and disconnect plumbing.
- Label and store screws and fasteners safely.
Replace any damaged cabinets before adding the new countertop.
Align and Strengthen Cabinets
Ensure your cabinets can support granite’s weight, which is around 20 lbs per square foot.
- Reinforce weak cabinets with additional wooden braces or plywood.
- Ensure cabinets are level using a spirit level.
- Adjust cabinets by adding shims.
Step-by-step Installation Process
Creating a Template:
- Use 1/4-inch plywood or MDF to create a template.
- Trace the shape of your countertop onto the material.
- Include cutouts for sinks and stovetops.
Tip: A precise template ensures a perfect fit.
Cutting the Granite
This task is best left to professionals to avoid errors and injuries.
- Use a wet saw with a diamond blade to cut granite.
- Ensure accurate measurements to fit the template.
- Smooth edges using diamond polishing pads.
Dry-fit the Granite
This step confirms your granite fits your space precisely.
- Place the granite slabs onto the cabinets without adhesive.
- Check alignment with the walls and corners.
- Adjust if necessary.
Apply Adhesive
Secure your countertop with silicone caulk and epoxy.
- Apply silicone in small dabs over the cabinet tops.
- Position the granite slabs and press down firmly.
- For seams, use epoxy. Match it to your granite color, mix as per guidelines, and apply to the joints.
Sealing the Granite
Seal granite to protect against stains and moisture.
- Choose a penetrating sealer meant for granite.
- Apply sealer generously with a soft cloth.
- Allow it to absorb and then buff with a clean cloth.
Repeat the sealing process every year for longevity.
Maintaining Your Granite Countertop
Proper maintenance ensures your granite countertops stay beautiful and functional for years.
Daily Cleaning
- Wipe spills immediately to avoid staining.
- Use a pH-neutral cleaner, or mild dish soap, and warm water.
- Avoid abrasive pads which can scratch the surface.
Dealing with Stains
Remove stains promptly to maintain the granite’s finish.
- Use a poultice with baking soda and water for oily stains.
- For organic stains, try a bleach poultice.
- Apply, cover with plastic wrap, and allow it to sit before wiping clean.
Preventive Measures
- Use cutting boards and trivets to protect the surface.
- Avoid placing hot pots directly on the countertop.
- Don’t use acidic cleaners, as they can etch the granite.
Regularly inspect and reseal if water no longer beads on the surface.


